Langsung ke konten utama

Cricut - Old Truck Mailbox Decal


Next up in my mission to "Cricut All The Things" was our mailbox.

I started out with a couple of free truck svgs, but they needed cleaned up so much, to cut the way I wanted,  that I just went to etsy and spent $1.49 for this one.  It was worth the time it saved me to have a good image to work with.  


When I uploaded this to design space, I uploaded the PNG file (instead of the html file).  Then I simply clicked on the pumpkins, and on the words, and on the pumpkin stems, to erase all of them.  


Once it was all erased, I added it to my "new project" in design space, and it wanted to make it a print and cut. If I changed it to cut, it changed the tire centers to the same color.  So I chose shape, circle, and sliced the center color out of the tires.

Quick and easy!
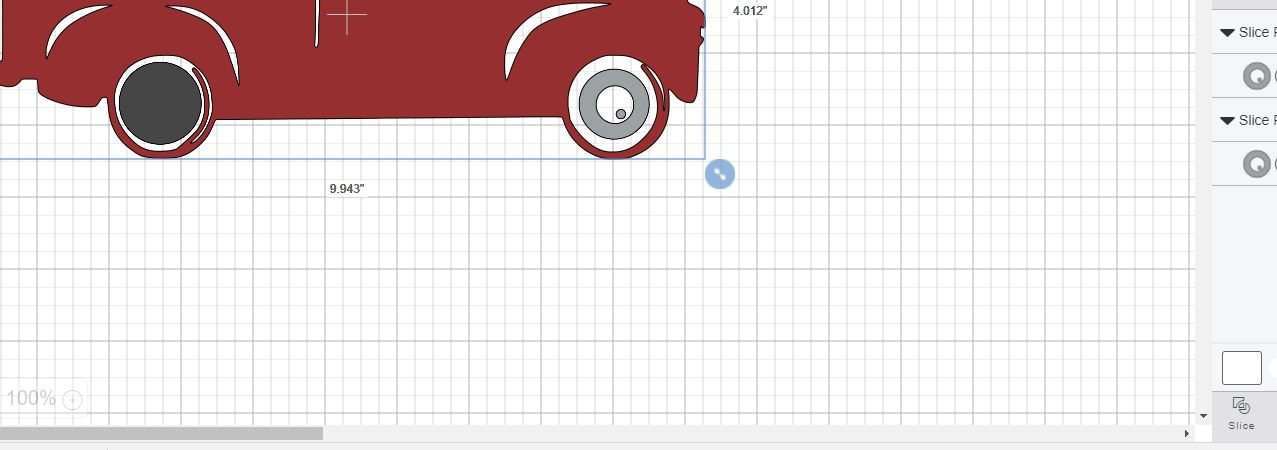
That gave me the tires inserts in silver, as I wanted them.

Next I added our last name, and our street number - in the elephant font.

Cut our of Oracle 651 in wine red, and silver.  Dollar Tree contact paper as transfer tape.  The mailbox has ridges, it is not a flat surface, but that oracle 651 went on beautifully.  This was the easiest project I have done yet.

For the second side, I flipped the truck, so that on our mailbox the truck faces forward on both sides of the box.

Komentar

Postingan populer dari blog ini

How To Use New Fonts In Phonto On Android

There are lots of apps to add fonts to android devices, but I really didn't want to add fonts to my android system.  I have a zillion fonts on my phone already.  What I wanted was to be able to use fonts like I love Glitter in Phonto.   Cliff Notes - Just add them to the fonts folder in the Phonto App.  Phonto has a "how to" for installing fonts on android, but it did not work for me.  This is what worked: My fonts are all backed up in dropbox. That makes this simple - but you could also send the font to your phone through email, and save to your downloads folder.   I just opened dropbox, went to the font, clicked on it, chose export/save to device, and saved to my downloads folder. Then I went to my downloads folder (Use "My Files" - in your app drawer. )  LONG click on the font.  If you just open it, you may get a message saying you do not have an app to pen this file.  You want to select the font, which you do by holding down on ...

Fonts With Tails (Glyphs) Cheat Sheet

Glyphs are extra characters in fonts.  For fonts like Samantha (a paid font - there is no free version) you have to use a character map to access the extra swirls. There are a few fonts, such as I Love Glitter, where you can quickly add swirls (nothing as ornate as Samantha, but still pretty!) just by adding a few characters such as * \ [ ] or ().  I call them "easy glyphs". Download all four of these cheat sheets as a pdf file, here.  If that link does not work (too much traffic) Try This One. Links to download each font are found under the photos. MF I Love Glitter        Smell The Roses            Shorelines        Stea        klcupid          Daddy's Girl             Beauty & The Beast          Ribbons & Banners            LillyBelle      ...

Christmas Pillows - Layering HTV

My daughter in laws asked for some throw pillows for Christmas, and I wanted a few for myself here as well.  I have more to make, but the first two designs are done, and I love how they turned out! The Red Truck svg is free here: http://caluyadesign.com/old-truck-christmas-tree-free-svg.html Ungroup, and hide the Noel.  I added our last name in the Bromello font https://www.dafont.com/bromello.font I did not use the white circles - I liked it better without them. Don't forget to reverse your design before cutting!  I use select all and flip horizontal rather than using mirror - because that way I am sure it is all done before I start cutting. I use a plain old iron (literally old - probably 80s model - I bought a couple of good old heavy irons at the thrift store, and love them.  ) a silicone baking mat, and a pillow case.  I sew my own pillow cases - details are here (and it's SUPER easy - a great beginners sewing project)  First I ironed the pillow case, ...